How To Properly Clean Your Glock : A Step-By-Step Guide
As an expert in guns, I have noticed that many Glock owners overlook the importance of cleaning their firearm on a regular basis. While a Glock is a reliable and sturdy gun, it still requires proper maintenance to ensure that it functions safely and effectively. Failure to do so can result in various issues, including jamming, misfires, and even serious accidents.
To keep your Glock in excellent condition and preserve its performance for years to come, it is essential to clean it thoroughly. A clean Glock not only guarantees optimal accuracy and reliability but also extends its lifespan. Despite the fact that many gun owners avoid cleaning their Glock due to concerns about it being a complex and time-consuming process, this is not the case. With the correct tools, knowledge, and techniques, you can quickly clean your Glock yourself.
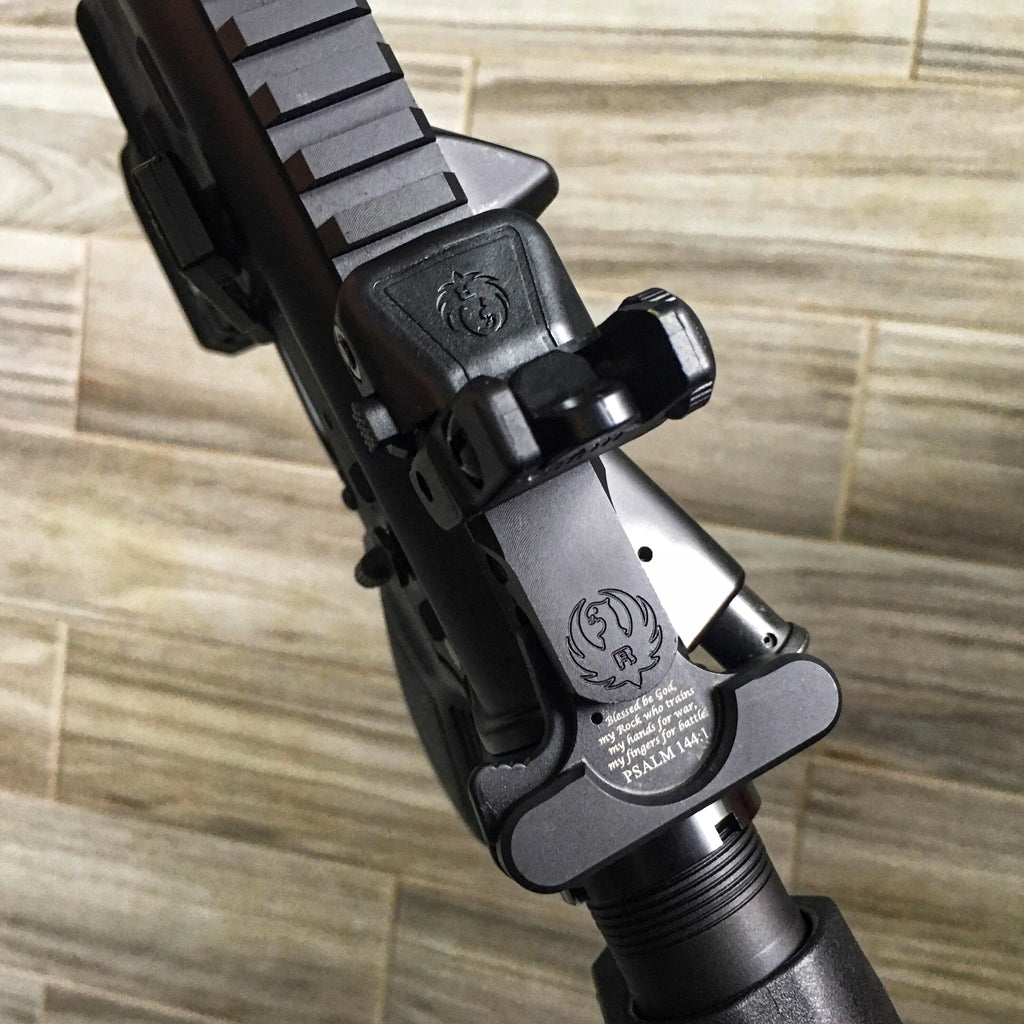
This blog will provide valuable tips on how to properly clean your Glock, including insights on using custom Glock slide cover plates and glock slide back plates. From unloading your gun to cleaning the bore and frame rails, I will take you through each step to ensure that you can clean your Glock safely and effectively. Whether you are an experienced Glock owner or a beginner, this guide will give you useful information to maintain your firearm in top condition. So, let's get started and learn how to clean your Glock the right way.

Step 1: Make Sure The Gun Is Secure, Or Locked And Unloaded.
The first and most important step in cleaning your gun is to ensure it is unloaded. Safety should always be the top priority when handling firearms, so double-check the chamber and magazine to ensure there is no ammunition present. Once you've confirmed the gun is unloaded, you can proceed with the cleaning process.
Step 2: Use A Brass Brush To Clean Any Powder Residue Or Carbon.
The brass brush is an essential tool for cleaning the bore of your firearm. It is used to scrub away any powder residue or carbon buildup that may have accumulated during use. Brass is a relatively soft material that won't damage the bore or rifling of your gun, making it ideal for this task.
Step 3: Use A Nylon Brush To Remove Anything Else That’s Left Over From The Brass Brush.
After using the brass brush, it's time to switch to a nylon brush. Nylon is a softer material than brass and is used to remove any remaining residue that the brass brush may have missed. Use the nylon brush to clean the bore and chamber thoroughly.
Step 4: Wipe The Exterior Of The Gun Gently With A Cloth Or Towel.
Once you've finished cleaning the bore, it's time to move on to the exterior of the gun. Use a soft cloth or towel to gently wipe down the surface of the gun, being careful not to scratch or damage the finish.
Step 5: Use A Magazine Cleaning Tool To Clean Inside The Magazine Well.
The magazine well can accumulate dirt, debris, and other contaminants that can affect the performance of your firearm. Use a magazine cleaning tool to clean the inside of the magazine well thoroughly. So that you won’t face any glock malfunction during the time of emergency.
Step 6: Clean The Bore With Cleaning Patches Soaked In Solvent Followed By Dry Swabs.
After wiping down the exterior and magazine well, it's time to return to cleaning the bore. Use cleaning patches soaked in solvent to thoroughly clean the bore, followed by dry swabs to remove any excess solvent and debris.
Step 7: Use A Cotton Swab Dipped In Solvent To Clean The Frame Rails.
Finally, use a cotton swab dipped in solvent to clean the frame rails and other hard-to-reach areas of your gun. A toothbrush can be used for more accessible areas, but the cotton swab will be more effective for the tight spaces.
Conclusion
After reading and following this step-by-step guide, you should now have all of the necessary information and skill to properly clean your Glock. Proper maintenance of your firearm is not only good for performance, but will also extend its lifespan, making sure it is always ready for use when you need it. Practice safe gun handling throughout, keep your firearms in optimal condition and never forget to double check that your chamber is clear when cleaning. You are now prepared to take on further challenges regarding maintenance of your favorite firearms! Thank you for reading this article and best of luck with whatever projects await you!


